How Can We Help?
Deploying the Portal Application Using Rancher UI
This guide walks you through deploying the Portal application on a Kubernetes cluster using Rancher UI.
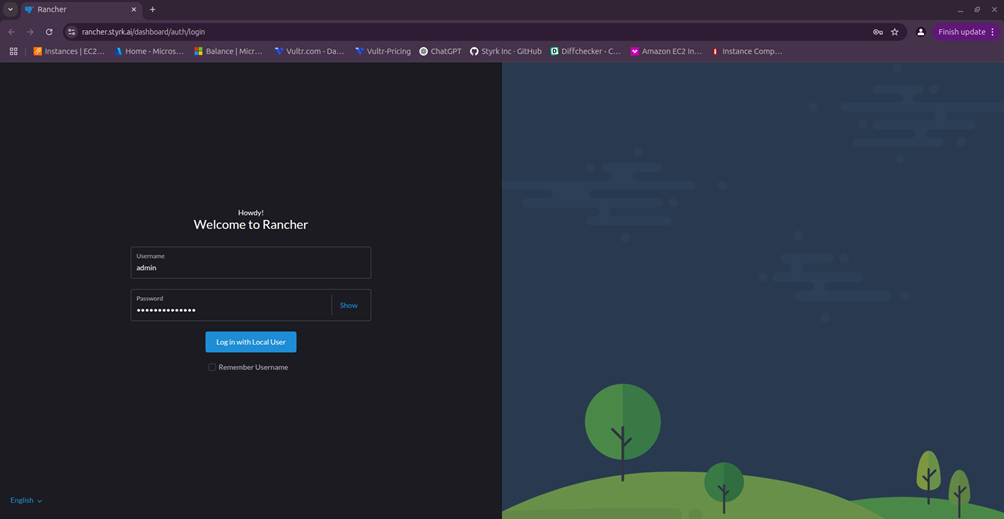
Step 1: Login to Rancher
- Navigate to your Rancher URL.
- Log in with your credentials.
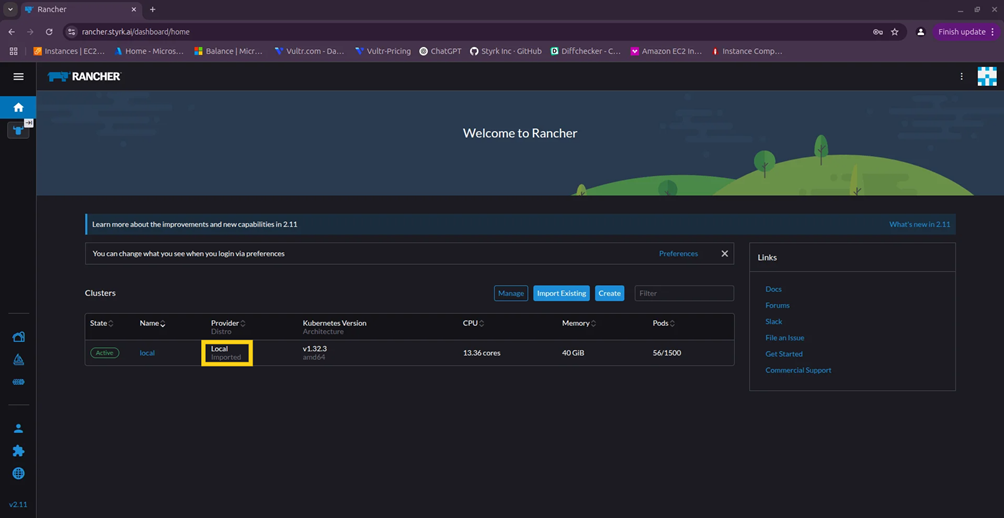
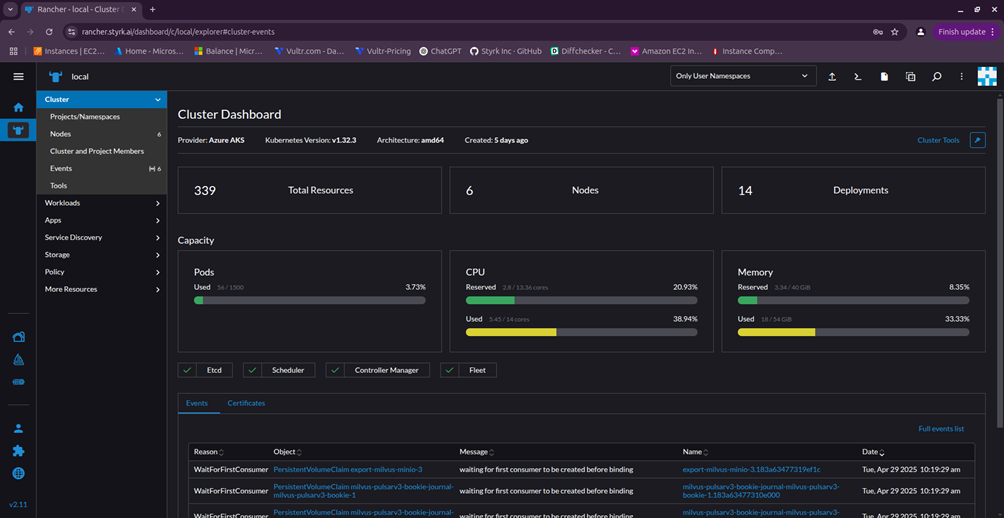
Step 2: Select the Cluster
- After login, you will land on the Rancher Dashboard.
- Here, you’ll see all the Kubernetes clusters in your environment.
- Select the cluster where you want to deploy the Portal application.
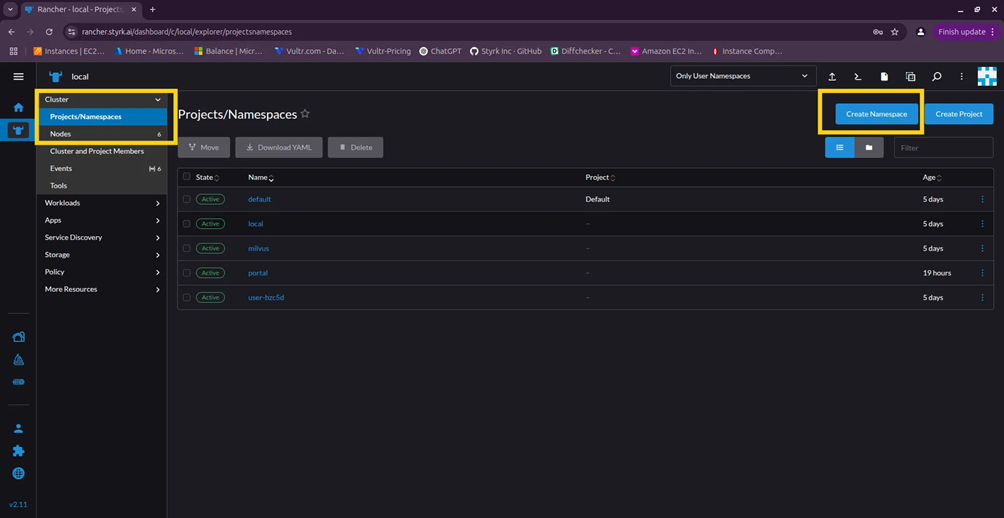
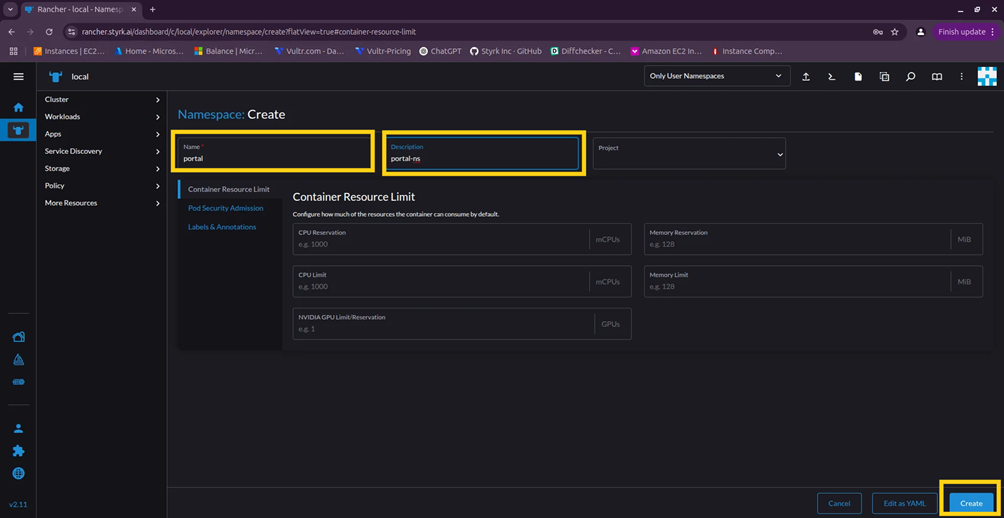
Step 3: Create a Namespace
- Navigate to:
Cluster > Projects/Namespaces > Create Namespace - Fill in the following details:
- Name: portal (must be in lowercase)
- Description: portal namespace
- Click Create.
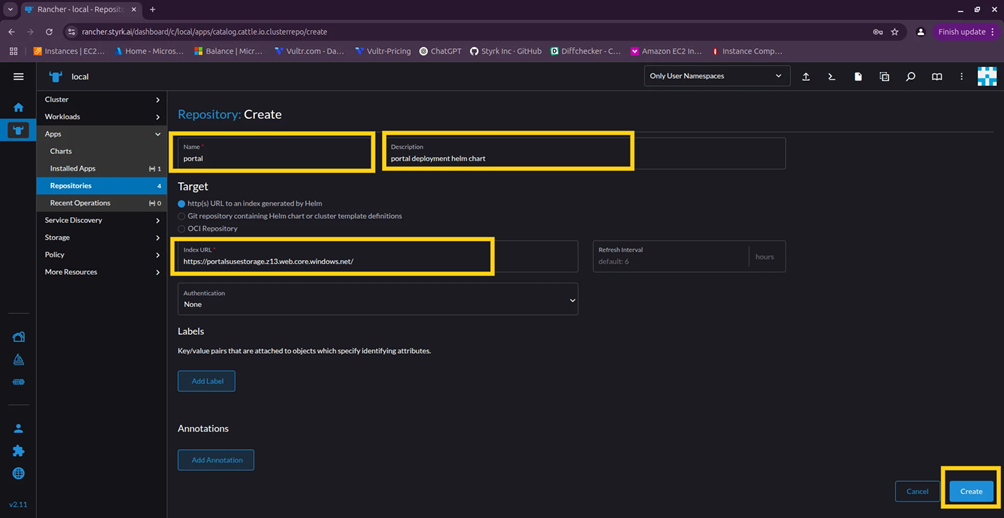
Step 4: Add the Helm Repository
- Go to:
Apps > Repositories > Create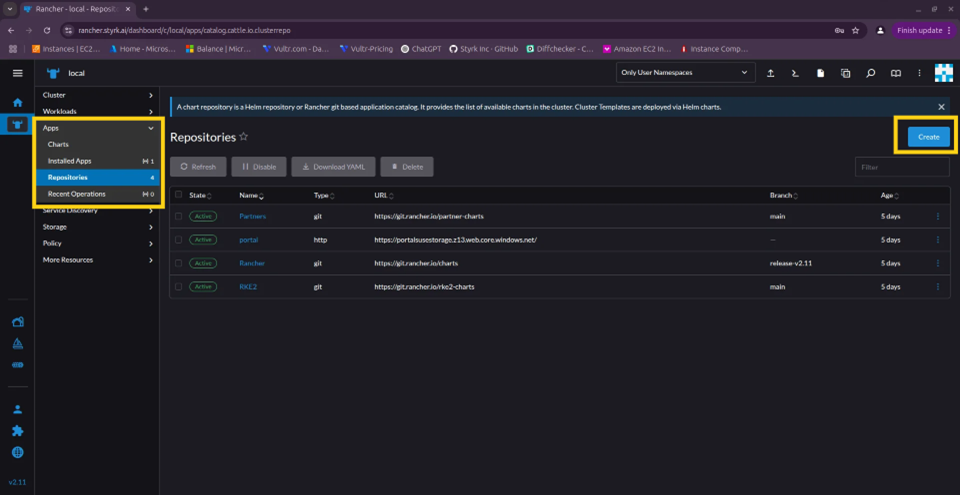
- Enter the following:
- Name: portal
- Description: portal repo
- Target: http(s) URL
- Index URL:https://portalsusestorage.z13.web.core.windows.net/
- Authentication: None
- Click Create.
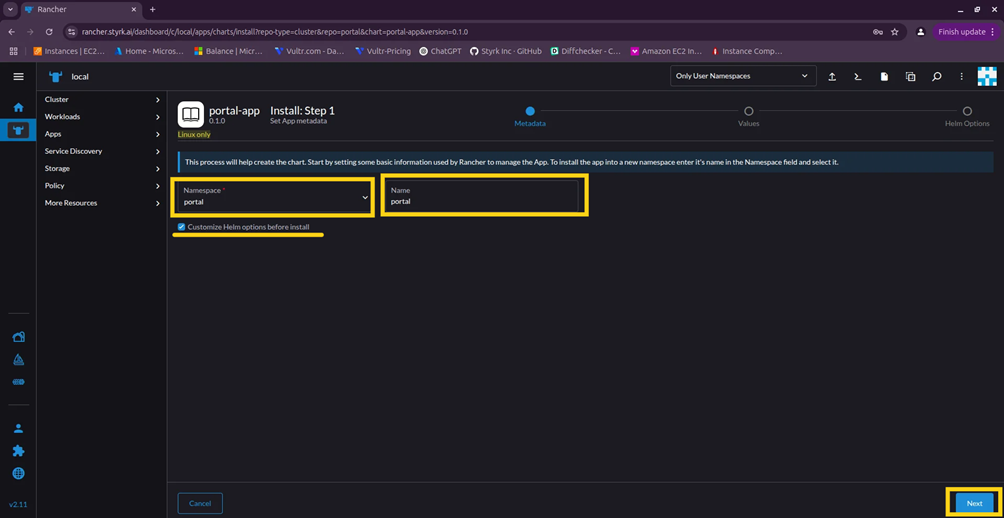
Step 5: Install the Portal Helm Chart
- Go to:
Apps > Charts - Use the filter/search bar and type: portal
- Select the portal chart.
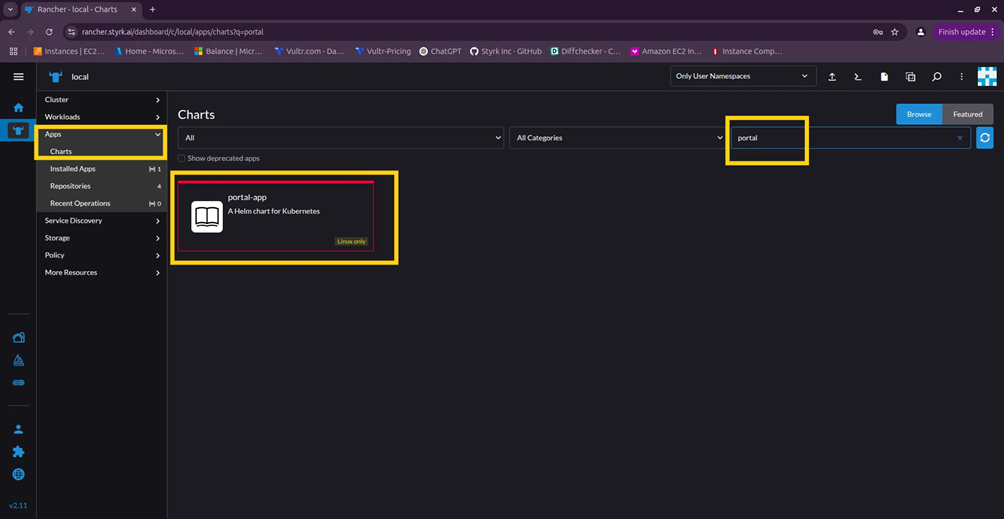
- Click Install.
- Set the following:
- Namespace: portal (select from dropdown)
- Release Name: portal (must be lowercase)
- Check “Customize Helm options before install”.
- Click Next.
Update the values.yaml file
Replace placeholder values with your actual configurations:
# For CognitoAWS_ACCESS_KEY: Update_AWS_ACCESS_KEY_ID AWS_ACCESS_KEY_ID: Update_AWS_ACCESS_KEY_ID
# For Secret managerAWS_SECRET_ACCESS_KEY: Update_AWS_SECRET_ACCESS_KEY AWS_SECRET_KEY: Update_AWS_SECRET_ACCESS_KEY COGNITO_CLIENT_ID: Update_AWS_Cognito_Client_ID COGNITO_REGION: Update_AWS_Cognito_Region COGNITO_USER_POOL_ID: Update_AWS_Cognito_User_Pool_ID OKTA_API_KEY: Update_OKTA_API_KEY
# Secret manager nameSECRET_BASE_NAME: Update_Secret_Manager_Name SECRET_REGION_NAME: Update_Secret_Manager_Region
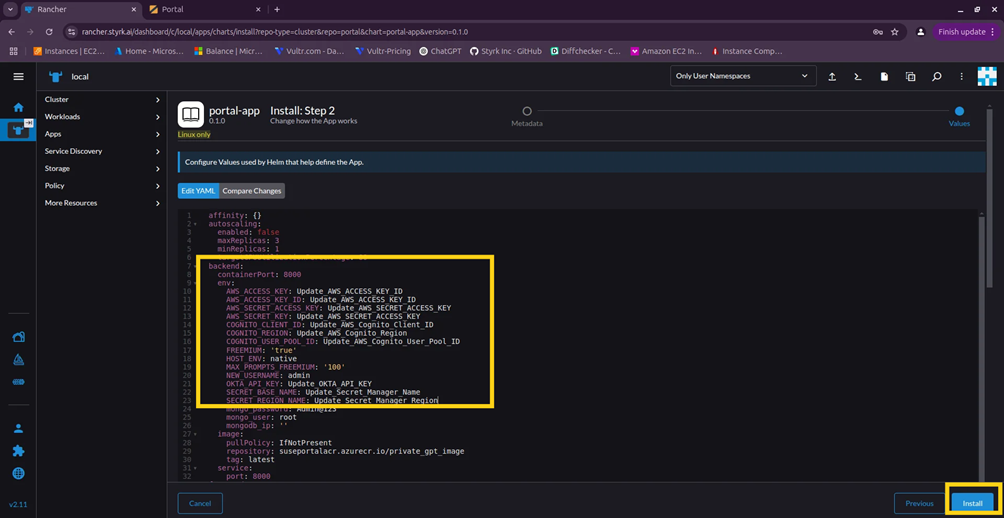
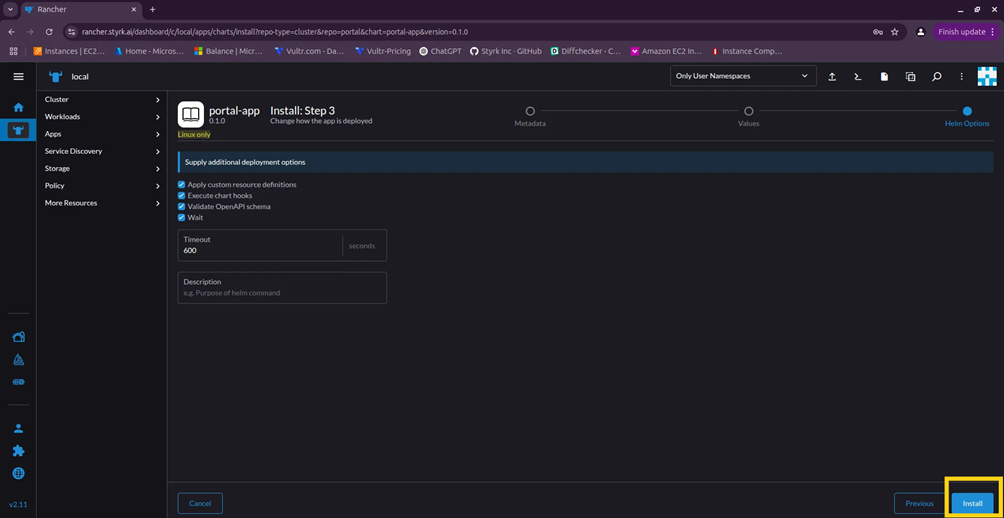
- Click Next > Install.

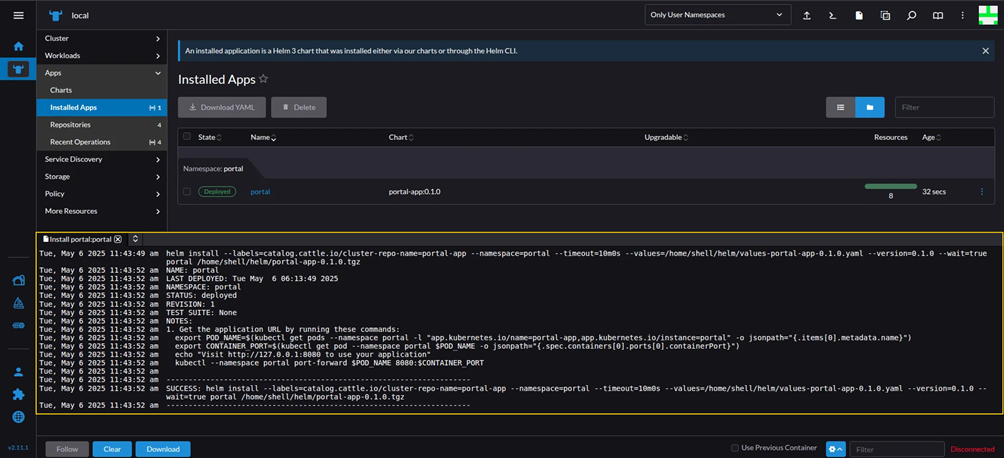
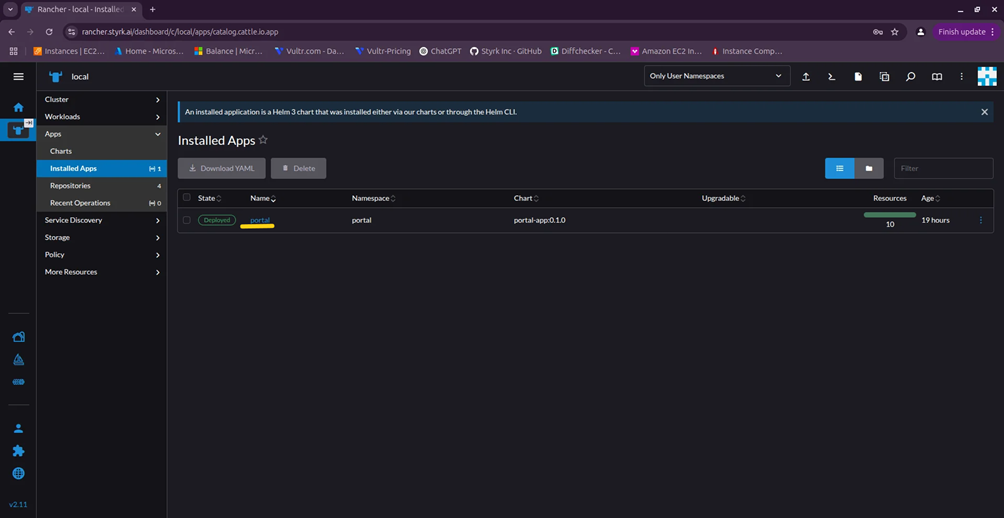
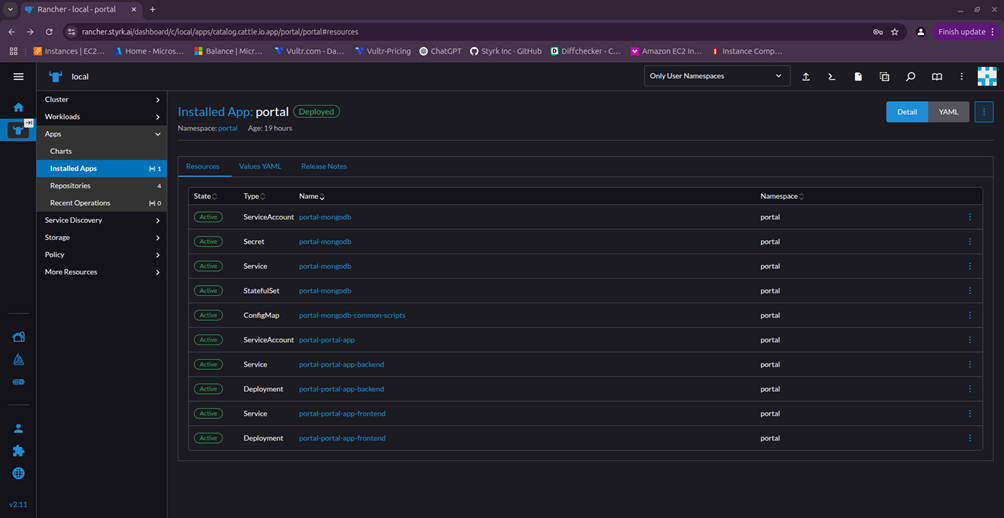
Step 6: Verify the Deployment
- Navigate to:
Apps > Installed Apps > portal - Click on your app name to see all running services.


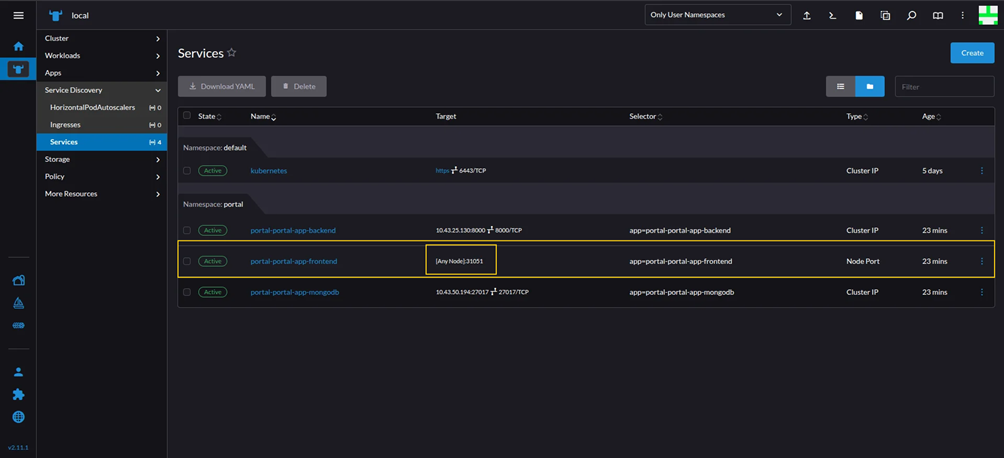
- Go to:
Service Discovery > Services
Open on the UI with Worker IP and port 31051.
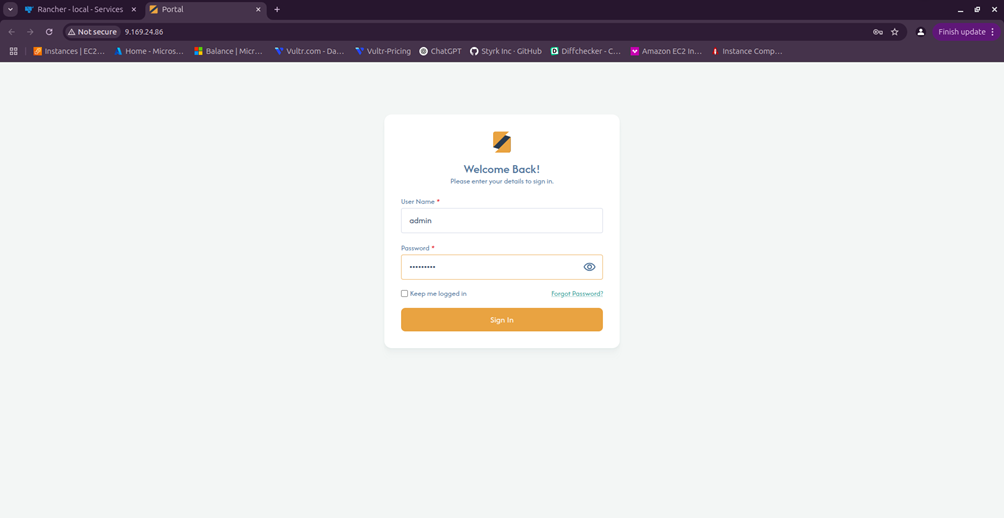
http://Worker/Agent IP:31051/ - A new tab will open with the Portal Application running.
Portal Dashboard
- You will now see the Portal login screen.
- After login, you’ll be redirected to the Portal Dashboard.

Optional: Delete the Installed Application
If you need to delete the application:
- Navigate to:
Apps > Installed Apps - In the list of installed applications, locate portal.

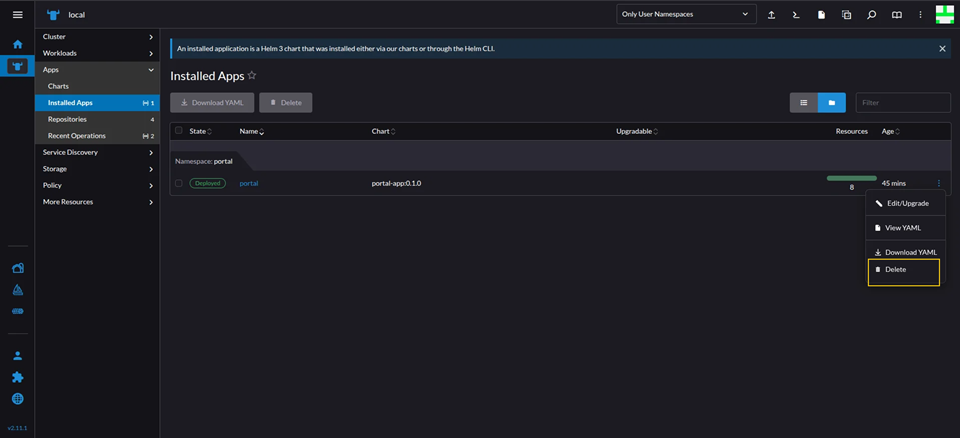
- Click on the three dots (⋮) next to it.
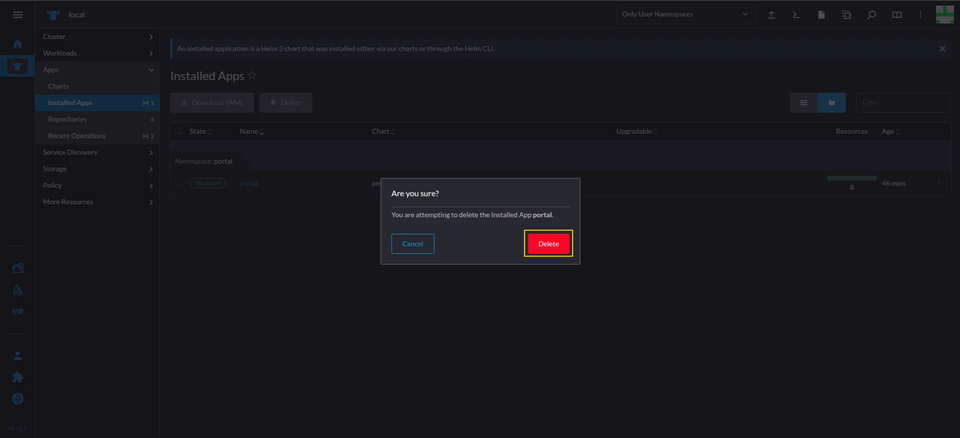
- Select Delete.
- Confirm by clicking Delete again.
To Reinstall the Application
Simply follow the steps outlined above starting from Step 5: Install the Portal Helm Chart.